Main Functionalities
Without being logged in, you are limited to read-only access of public layers. Let us explore the top menu bar.

Menu bar
The first three menus of the menu bar (i.e. Data, Maps and About) are identical to the menus of GeoNode. Further details can be found at the website of GeoNode and its documentation.
Data
This menu list allows the user to explore, or to manage (if logged in), local or remote layers (vector or raster) and the associated metadata documents (such as Pdf, images, tabular data etc.).
Maps
Maps consist in overlaying various layers and their styles. This toolbar allows you to create a map based on the uploaded layers combining them with some existing layers and a remote web service layer, and then (If logged in) share the resulting map for public viewing.
Here you can view the map, active layers of the map and other available options.
About
This menu allows you to explore people, groups and their activities within the portal and will be explained in detail in the tutorials.
Thematic Areas
This platform has been created and powered by GeoNode with the aim to support mainly the Biodiversity Programme. Specifically, the Thematica Areas menu is customized and includes several options that contain finished and ready Geospatial data.
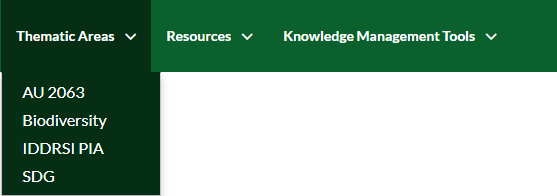
Thematic Area menu
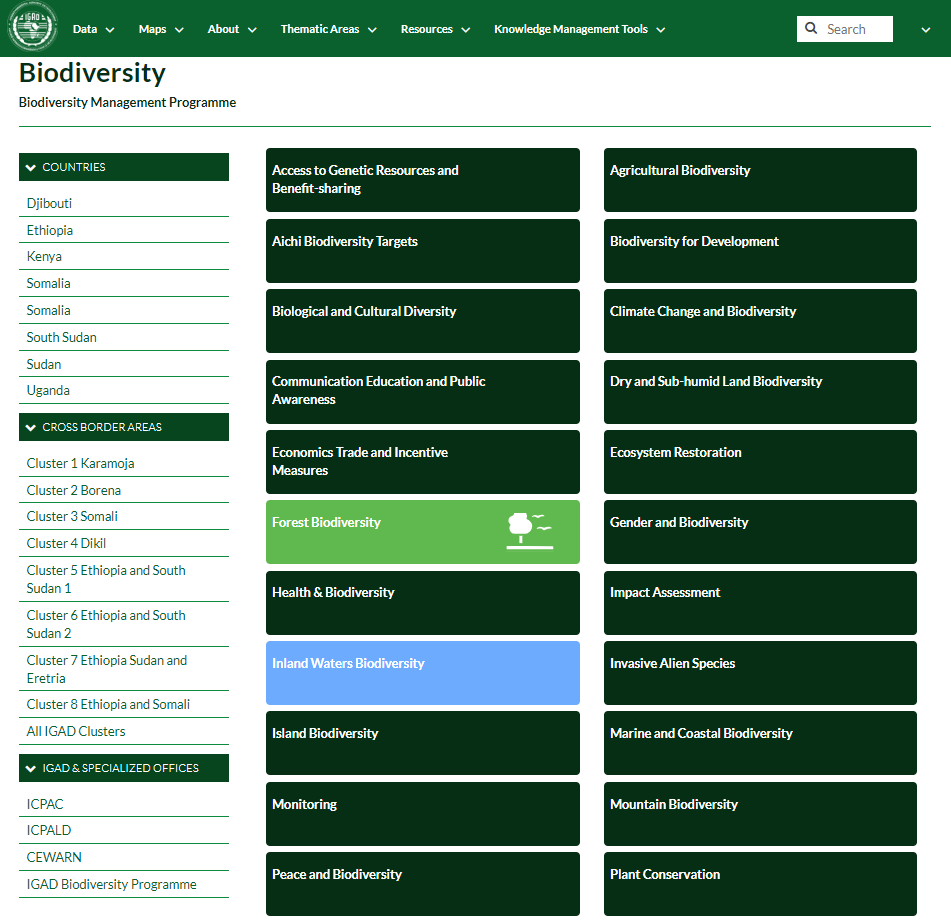
Let us explore the contents of the options in the Thematica Areas menu. For example, Click the Biodiversity option. You will be redirected to a new page containing a Sidebar menu and a list of Thematic categories.
Thematic Categories
The Thematic categories tabs contain layers related to a specific created classes.
Note
The color of the tab is significant. Dark green tabs are empty and does not contain any layer.
Click the Forest Biodiversity tab. You will be adressed to a new page that shows the layers related to the current tab.

Layers in the Forest Biodiversity tab
Moreover, a new sidebar menu will appear based on several filters.
Sidebar Filters
There are two ways to apply filters:
- OR type filter:
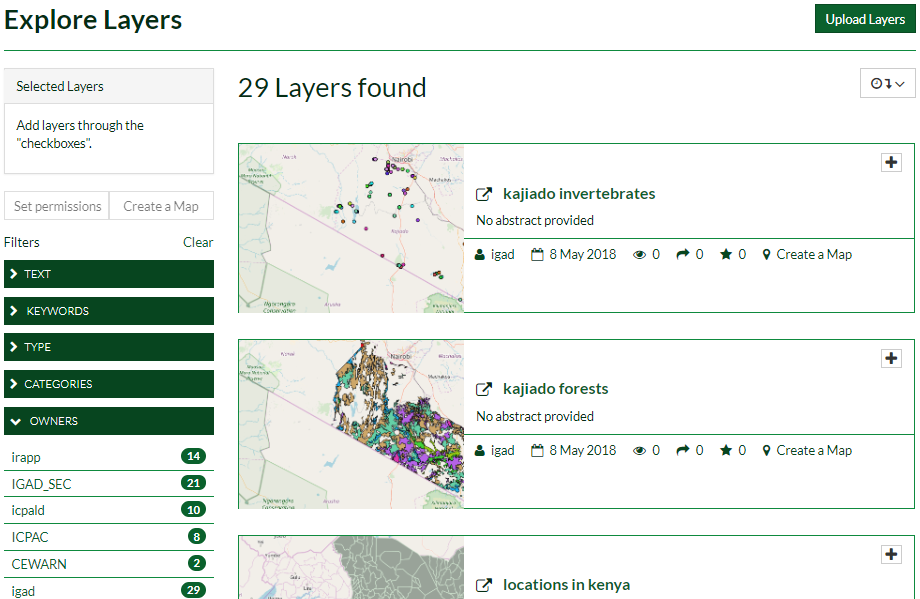
Navigate to the Data menu and click on the layers option to explore all the existing layers in the portal (see Fig. 1).
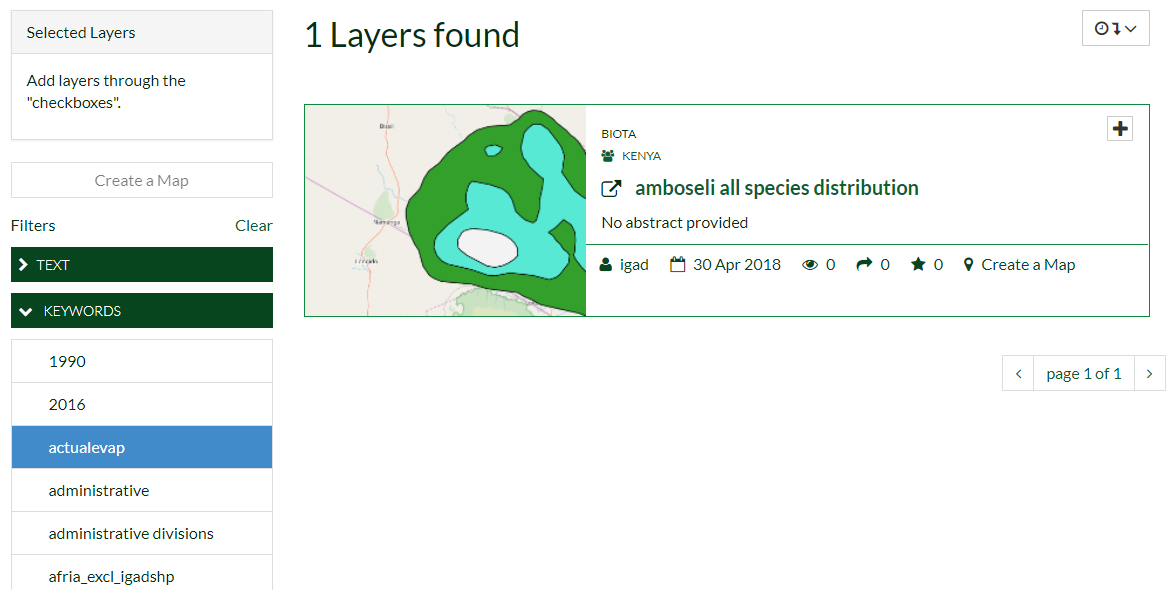
Expand the KEYWORDS Filter. Select, for example, actualevap item (will be highlighted in blue), all the layers related to the selected option will be found (see Fig. 2).
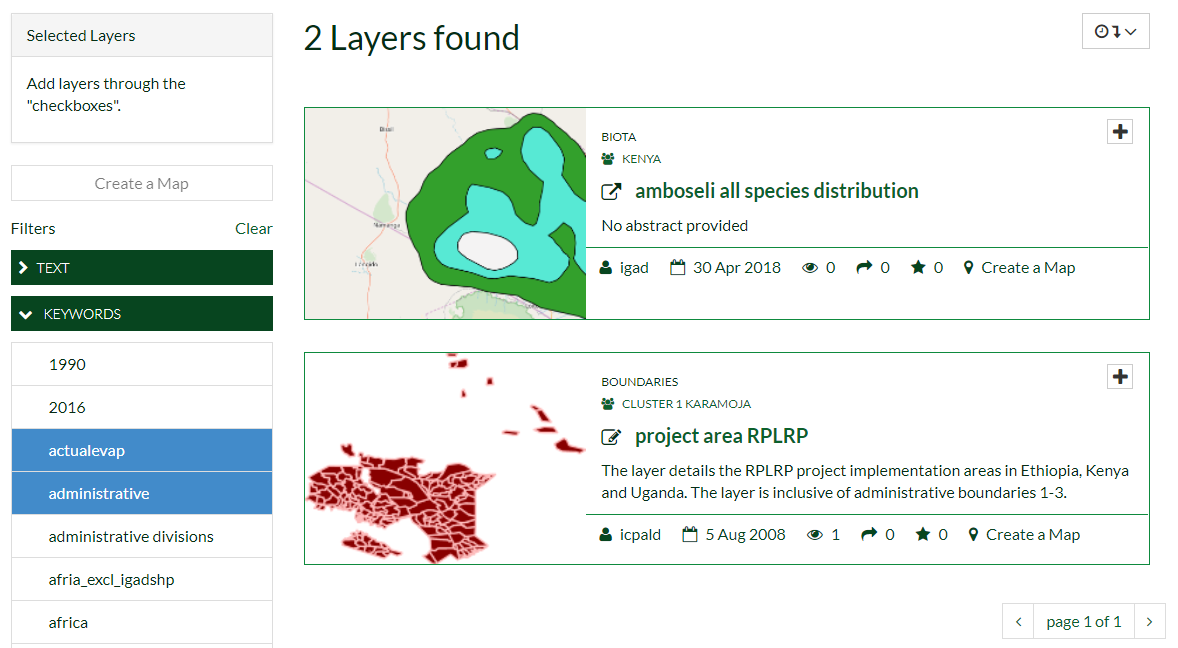
Next Select the keyword administrative, further layers related to the selected keys will be added to the selection (see Fig. 3).
Note
Note that filtering the data using many keywords will apply an OR filter.
- AND type filter:
Click on Clear to reset the filters. You will be redirected to the main layers page as in Fig. 1.
Expand the OWNER Filter. Select, for example, igad item, all the layers related to the selected item will be found (see Fig. 4).
Next Expand the TYPE Filter and Select Vector Layers item. Layers that are owned by igad AND are vectors will be selected only (see Fig. 5).
Note
Note that filtering the data using items from different filters lists will apply an AND filter.


